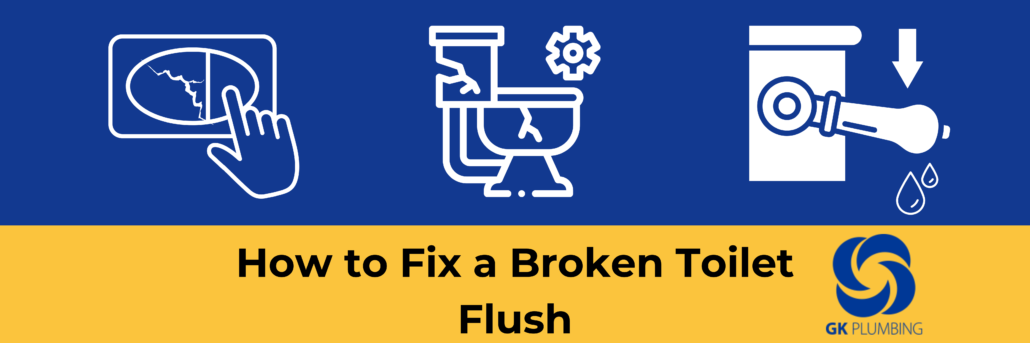
How to Fix a Broken Toilet Flush
A broken toilet flush is one of those problems you can’t ignore for long. Whether the handle feels loose, the button won’t depress, or the flush simply isn’t working at all, the good news is that it’s often a straightforward fix, provided you know what you’re doing.
Here at GK Plumbing, we’ve put together a clear, step-by-step guide to help you replace a broken toilet flush handle or button at home. And if things don’t go to plan, we’re always on hand to help.

Fixing a Broken Toilet Flush: Step by Step Guide
-
Remove the Lid From the Cistern
You won’t be able to fix a broken toilet flush from the outside, so the first job is opening up the cistern. Put on a pair of rubber gloves, then carefully lift the lid and set it down on a towel to avoid chipping or cracking it. On most toilets the lid simply lifts off, though some models have a centre screw that needs removing first.
-
Shut Off the Water Using the Isolation Valve
Before you do anything else, turn off the water supply. The isolation valve sits on the pipe feeding into the cistern. If you can’t see it there, check the back or side of the toilet unit. Depending on the type of valve, you’ll either turn a handle or use a flathead screwdriver to close it off.
-
Drain the Cistern
With the water off, you’ll need to empty the cistern before working inside it. If the flush is completely non-functional, use a tube and bucket to syphon the water out, or a wet-and-dry vacuum if you have one to hand. Finish off with a sponge to soak up any remaining water at the bottom.
-
Unhook the Trip Lever
Inside the cistern you’ll find a long lever connected to a chain. This is the trip lever, and it’s what releases the flush valve when the handle is pressed. Before you remove anything, take note of which hole the chain is clipped to. Getting this right when you reassemble will save you a lot of trial and error later.
-
Remove the Broken Toilet Handle or Button
Using a wrench, loosen the nut securing the handle in place, turning it clockwise. Most toilet handles use a left-handed thread, so this is the direction that loosens rather than tightens. If the nut has seized or rusted, apply a small amount of WD-40 and work it gently. Avoid forcing it, as too much pressure can crack the porcelain.
Set the old handle aside rather than throwing it away straight away. The model name or number for your toilet will be on a label inside the cistern, make a note of this, as it will help you find a compatible replacement.
-
Purchase a Replacement Handle (Take the Broken One With You)
Take the old handle and your model number to a plumbers’ merchant or DIY store. The shape and fitting of toilet handles can vary quite a bit between manufacturers, so having the original with you will help you match it correctly. If you’re unsure whether a replacement is compatible, ask before you buy, it’s much easier than making a second trip!
-
Fit Your New Handle and Turn on the Water Supply
Before fitting the new handle, give the area around the cistern hole a clean with a scrubbing sponge. Slide the new handle arm through the hole from the front, then secure the nut from inside. Tighten it firmly but don’t overdo it, hand tight with a small additional turn is usually sufficient to avoid any risk of cracking the cistern.
-
Reattach the Trip Lever
Clip the chain back onto the same hole it was on before. Once reconnected, test the flush a few times to check the action. If the chain is too slack the cistern won’t drain fully; if it’s too tight the handle may not return to its resting position properly. Adjust by trying different holes until the flush operates cleanly.
-
Place Back the Lid (Or Replace if It’s Broken)
With everything working as it should, place the lid back on the cistern. It should sit back into position without any force. If the lid was cracked or damaged before you started work, now is a good time to replace it alongside the handle.
Still Having Problems With Your Toilet Flush?
Hopefully, you have now fixed your broken toilet flush! If you’ve followed every step and the flush still isn’t working correctly, it’s worth calling in a professional. Sometimes the issue lies deeper than the handle — a faulty flush valve, a worn syphon, or a problem with the fill mechanism can all cause similar symptoms and are harder to diagnose without experience.
Here at GK Plumbing, we pride ourselves on our ability to fix all matters of plumbing issues. From broken toilets to blocked drains, we offer a range of general plumbing services for you. Alternatively, contact us with any questions or problems and we’ll do our best to help.
If you’re looking at replacing your toilet, why not consider your whole bathroom? Start the new year fresh with a brand new bespoke bathroom! If you’re considering a whole new design to fit your luxury home or want to update it to reduce the risk of new problems, visit our gallery to see what your new bathroom could look like.
Looking for more guides? We have a number of plumbing and heating related articles that may help out, including ‘How to Bleed a Radiator‘ and ‘Everything you Need to Know About Power Showers‘.